Web Application
This tutorial explains how to use models built with the cvtk package in a web application. The web application is built using FastAPI, a fast and simple web framework. Therefore, before executing this tutorial, please install FastAPI and Uvicorn:
pip install fastapi uvicorn
Object Classification
This section explains the steps to build a web application for an object classification model.
First, refer to the object classification tutorial to build the model.
Assume the source code for object classification generated by cvtk (using ResNet18 by default) is saved in cls.py,
and the trained model’s weights are saved in ./outputs/fruits.pth.
To generate the source code for the web application, execute the following command.
Specify a project name of your choice for --project.
This command will create a directory with the specified project name and generate the web application’s source code within it.
Next, specify the object classification source code generated by cvtk with --source,
the label file used for training the classification model with --label,
the model name (default is ResNet18) with --model,
and the trained model’s weights file with weights.
cvtk app --project clsapp \
   --source cls.py \
   --label ./data/fruits/label.txt \
   --model resnet18 \
   --weights ./output/fruits.pth
If the command runs successfully, a directory named clsapp will be created, containing the web application’s source code. Next, navigate to the clsapp directory and execute the following command to start the FastAPI server:
gunicorn --bind 0.0.0.0:8080 main:app
You can now access the object classification model through a web page by visiting http://localhost:8080.
Additionally, you can modify the object classification source code to be independent of the cvtk package.
In that case, specify the --vanilla option when executing the cvtk app command:
cvtk create --script cls.py --task cls --vanilla

# train the model with cls.py

cvtk app --project clsapp \
   --source cls.py \
   --label ./data/fruits/label.txt \
   --model resnet18 \
   --weights ./output/fruits.pth \
   --vanilla
Object Detection and Instance Segmentation
The process for building a web application for object detection and instance segmentation models
is identical to that for object classification.
First, refer to the object detection or instance segmentation tutorials
to build and save the trained model’s weights.
Then, use the source code generated by cvtk to generate the web application’s source code.
For object detection models, specify --task det,
and for instance segmentation models, specify --task segm.
For example, for an object detection model, execute the following:
cvtk app --project detapp \
    --source det.py \
    --label ./data/strawberry/label.txt \
    --model ./output/strawberry.py \
    --weights ./output/strawberry.pth
For an instance segmentation model, execute the following:
cvtk app --project segmapp \
    --source segm.py \
    --label ./data/strawberry/label.txt \
    --model ./output/strawberry.py \
    --weights ./output/strawberry.pth
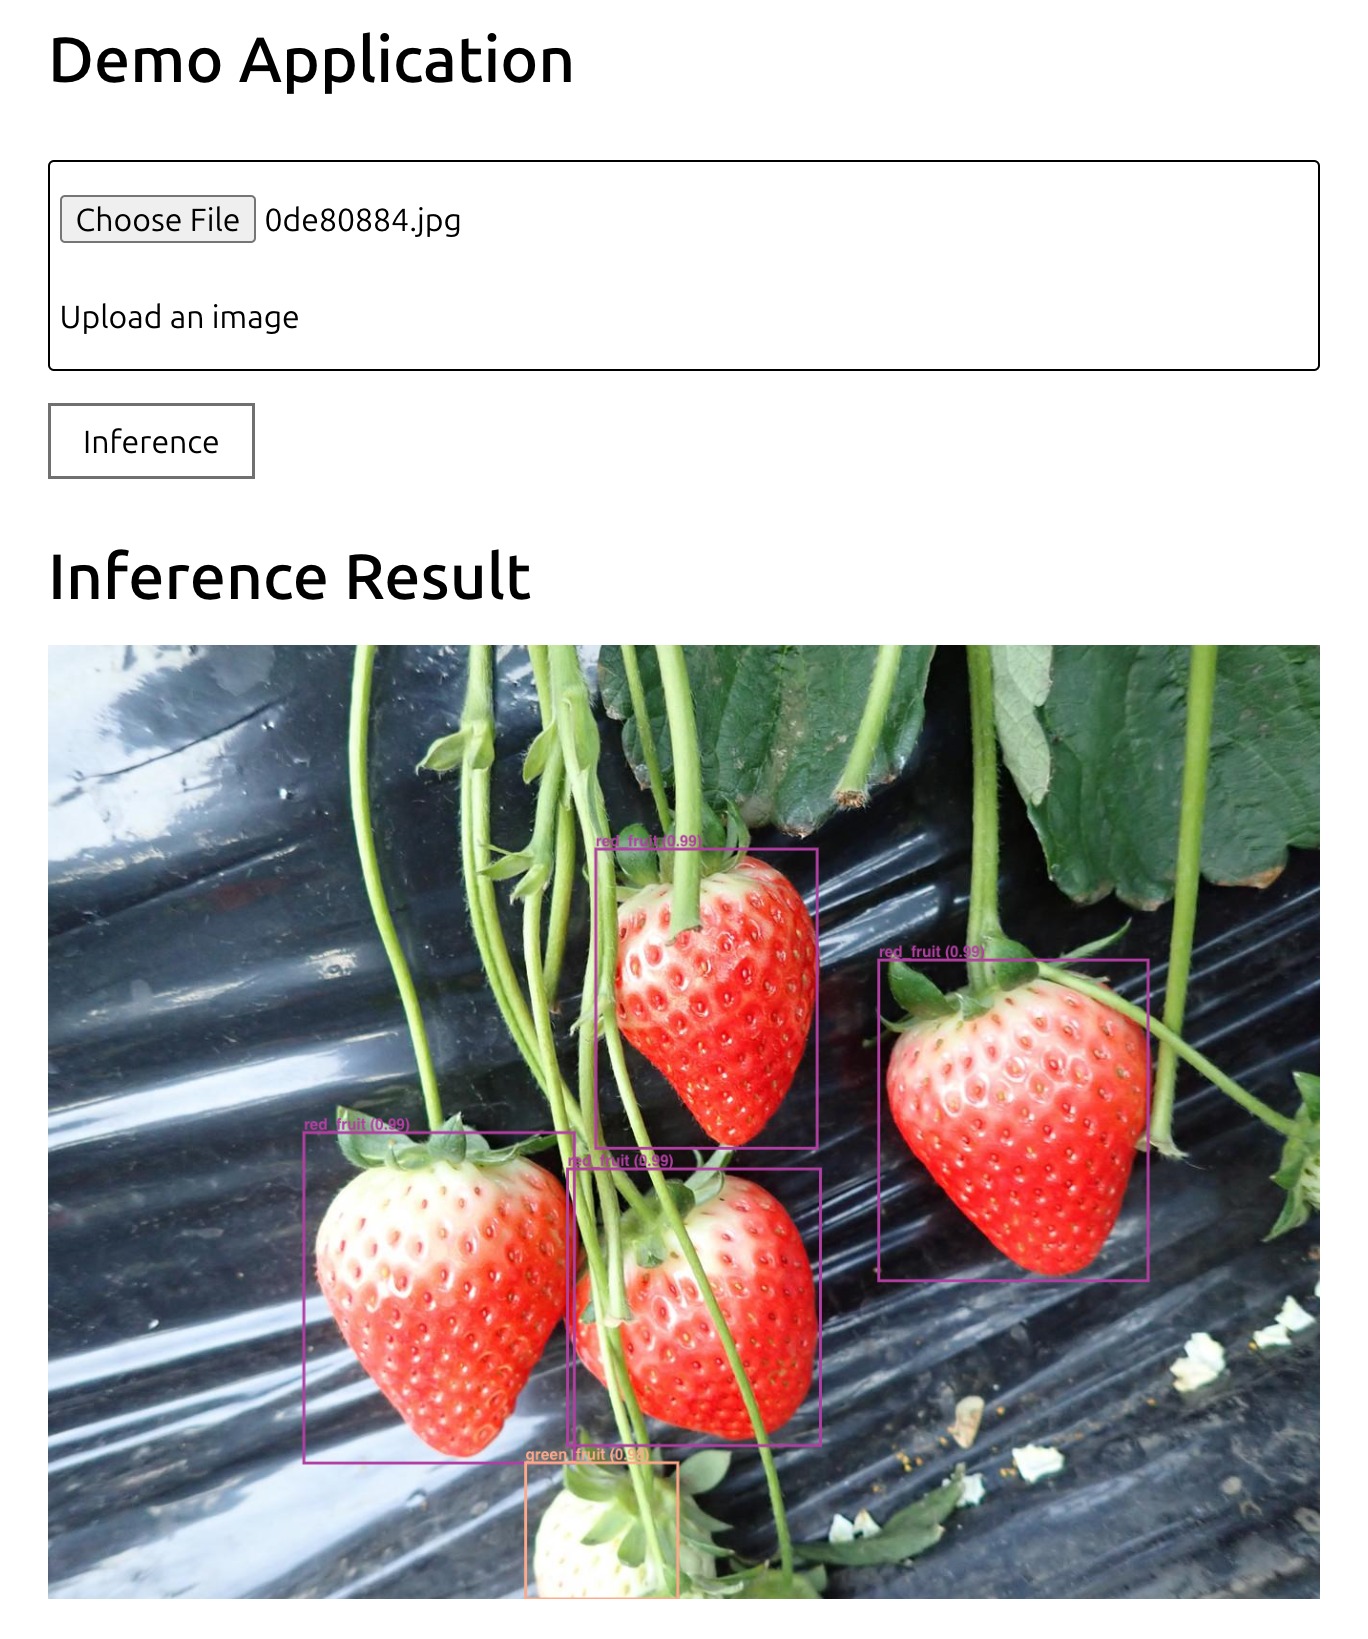
Once the web application’s source code is generated, start the FastAPI server by executing the following command. You can then access the object detection or instance segmentation model through a web page by visiting http://localhost:8080.
gunicorn --bind 0.0.0.0:8080 main:app
If you want to generate source code that is independent of the cvtk package,
specify the --vanilla option when executing the cvtk app command:
cvtk app --project detapp \
    --source det.py \
    --label ./data/strawberry/label.txt \
    --model ./output/strawberry.py \
    --weights ./output/strawberry.pth \
    --vanilla